The Kitchen Renovation - Part II

We essentially lived without our kitchen all last summer. It wasn't so bad at first - because I don't really like cooking - but after weeks of restaurant food, sometimes you just crave a good chicken from your own stove. And a dishwasher..that too..because washing dishes in the basement or your bathtub gets old. So old, so fast.

Installed a new window so that we'd be able to fit regular size counters under it. Besides that, at this phase we got walls up, insulation added, putting up moulding, painting bricks and patched a bazillion holes. Unfortunately we were working like mad and I didn't get as many pics of this stage. But, to be fair, we all don't really care, we just want to see the FINAL PRODUCT. No need to yell in caps, I know, but it's really hard not to.

Ok, on with the show.


And how about these floors? There was original wood under all of the layers of nasty linolium, but the bottom layer had black, sticky glue which would have been TERRIBLE to scrape off. So, at this point, we decided to cover it. This product is called Marmoleum and is made from recycled materials and is cork-based. It's pretty awesome and feels very 1950's which seems to fit the house.

Our chimney was also covered as the brick is cheap. And not pretty. I heavily debated keeping it open or covering it back up. We did a paint test and I asked a few of my design-saavy friends what they thought. All voted for keeping it open and painting white. So, that's what we did. The final product is pretty cool (you'll see on the reveal post..which is coming soon).


Life changes

While this post doesn't share house projects, it does include some major life renovations.

I was in a motorcycle accident two weeks ago and through God's grace, I survived the crash. There were casualties..my left leg was amputated from right above the knee, I have a broken pelvis, and some major bruises. While it sucks (a lot), I'd rather be alive and have a couple broken bits than not be here. I'm learning to live in a new normal. It's challenging, but then again, I've always liked a challenge :)

Link to my Caring Bridge site: http://www.caringbridge.org/visit/jamiekvamme


After being in the hospital for two weeks I was so happy to come home. And even better, I came home to a kitchen that's darn close to finished! A handful of our wonderful and amazing friends and family came and worked on our house while we were cooped up in the hospital. It was awesome. Some updates coming soon!

The Kitchen Renovation - Part I

When we bought the house, the kitchen had the basics (sink, appliances, cabinets), but nothing was really that functional. We had ZERO counterspace and the layout was terrible. We knew we were going to remodel and it would have to be the first big project we tackled.


We took out appliances and took the first swing at the plaster. It was scary. But then we took all of it down and it wasn't as bad as I imagined. In fact, I found it fascinating to see behind the walls and learn how everything was put together. It's a lot like a puzzle. A really old, antique puzzle made from materials that are no longer used.


Once our walls were opened up, we took advantage and re-plumbed the kitchen and added pipes for a master bath, and re-wired just about everything. These old houses were NOT built for modern appliances or technology. Our outlet situation was impossible. Now we're just about fixed up :)


Cleaning up old knobs

One of my favorite things about old houses are the (heavy!) glass doorknobs. When we first toured our house I was thrilled that all of the doors had either glass or brass knobs.

However, I wasn't thrilled that they'd been painted a few times and ended up looking more shabby than chic. Easy fix.

Step 1: Secure old crock-pot from Goodwill. (Trust me..these old houses are full of lead paint so do not use anything you plan to eat out of. Buy a cheapo.)


Step 2: Remove knobs from doors. You may need to grab an old knife to scape out paint from the hardware. I'd also suggest that while you're removing, you take a minute to learn how it all goes together so you're not guessing which screw goes where when putting back on.


Step 3: Soak hardware for a couple hours in the crock-pot (on low). Self explanatory. I think I soaked for about 4-6 hours my first round of hardware.


Step 4: Scrape off paint and polish the brass. I found that most of the paint peeled right off the hardware, though there were some spots that required a little more finesse. Using mineral spirits and steel wool (get #0000 grit for removing/polishing) I was able to easily remove all the paint. Once it was removed, I scrubbed each piece with a little more mineral spirits, dried, then buffed/polished with the steel wool. There are a number of natural and store bought solutions that will help polish old hardware. My favorite resource here.


Step 5: Put it back together. Ahhhhh, the sweet success of almost-instant gratification. One of the reasons I love this little fix is that it only takes a day to see your pretty final results. So great.


Porch Progress

It seems fitting that the first room to feel *sorta* done is the porch - the entry to our home. I'm finally happy to say that with some minor updates, it's feeling quite cozy these days. When we looked at the house I knew I wanted to make it a sunny little reading and storage nook - useful for tucking away shoes and hanging jackets as well as being able to use the space beyond just storage.

After taking down what felt like a bazillion curtains, its much more light and airy.

My initial plan was to paint the porch a shade darker than the living room, because my logic said that more windows = more light = can handle dark colors. It looked ok going on...but ended up a gray/slate blue/purple color that I didn't like (but tried to convince myself to like).

I repainted the entire room the same color as our living room/dining room - a beige/gray shade called Windrush by Behr. Much happier.


Refinishing the daybed

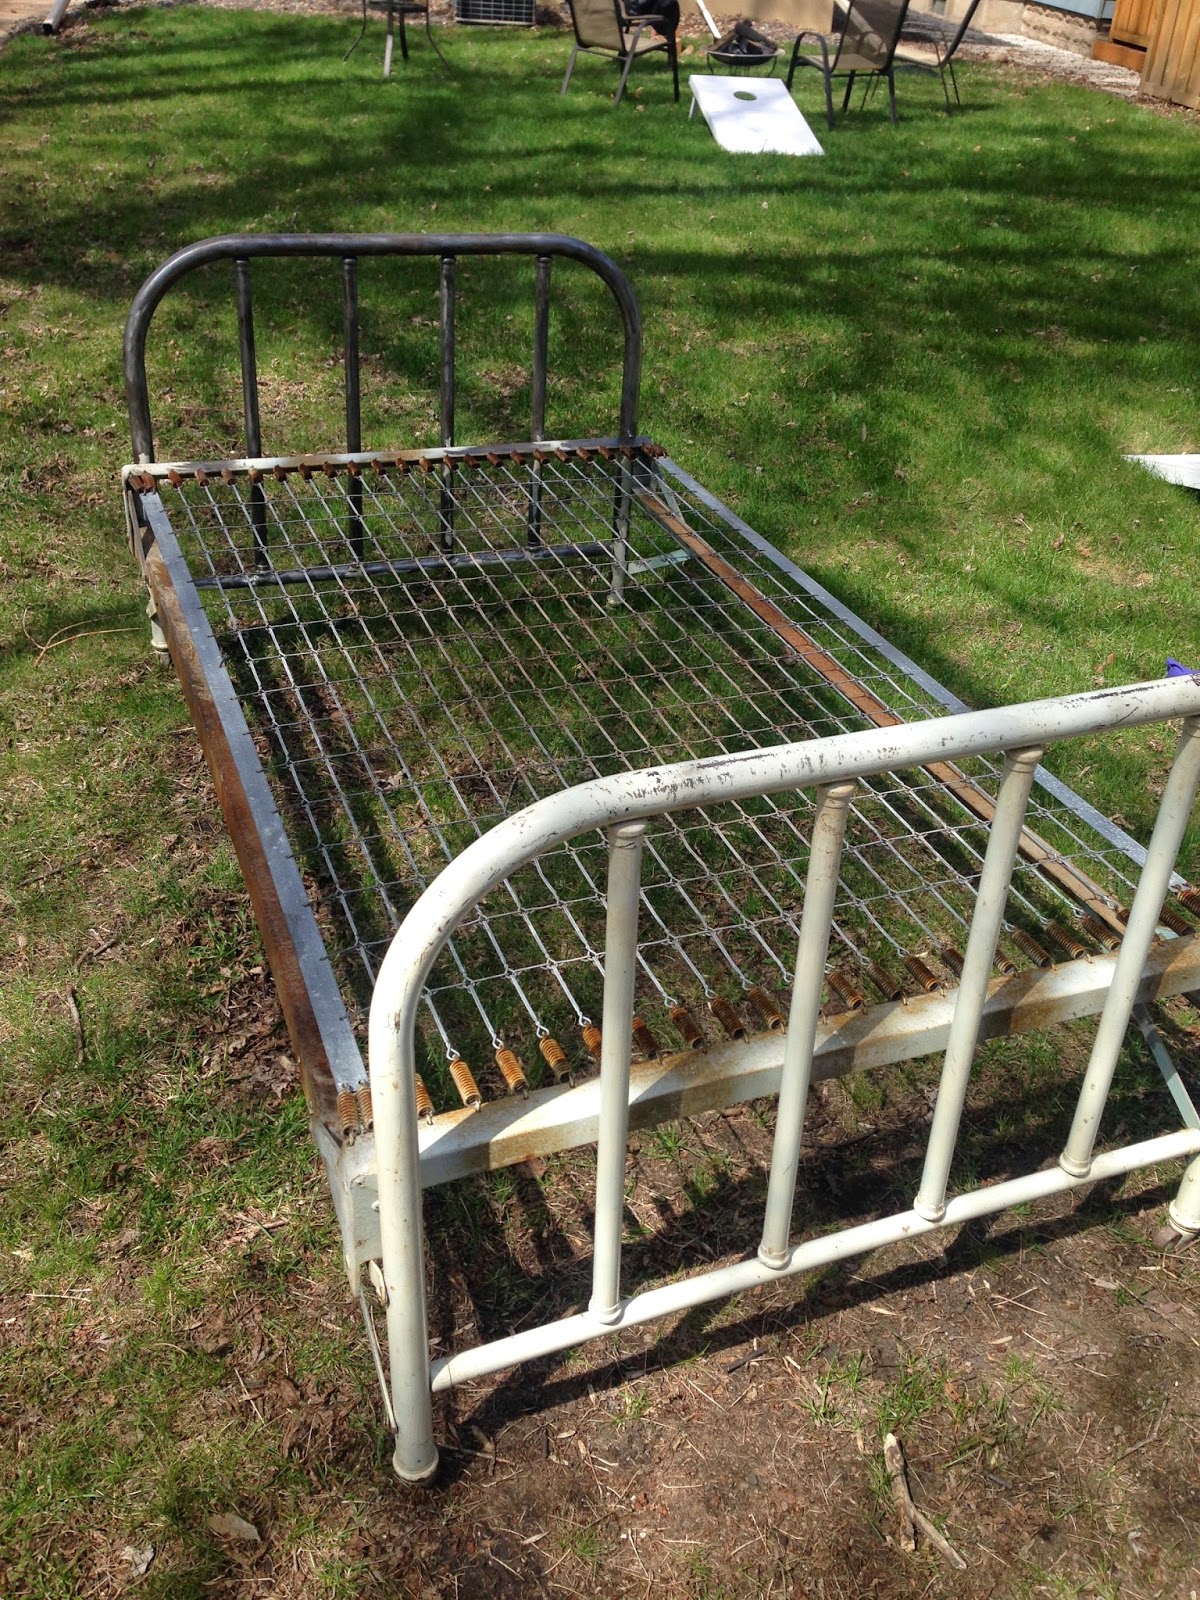
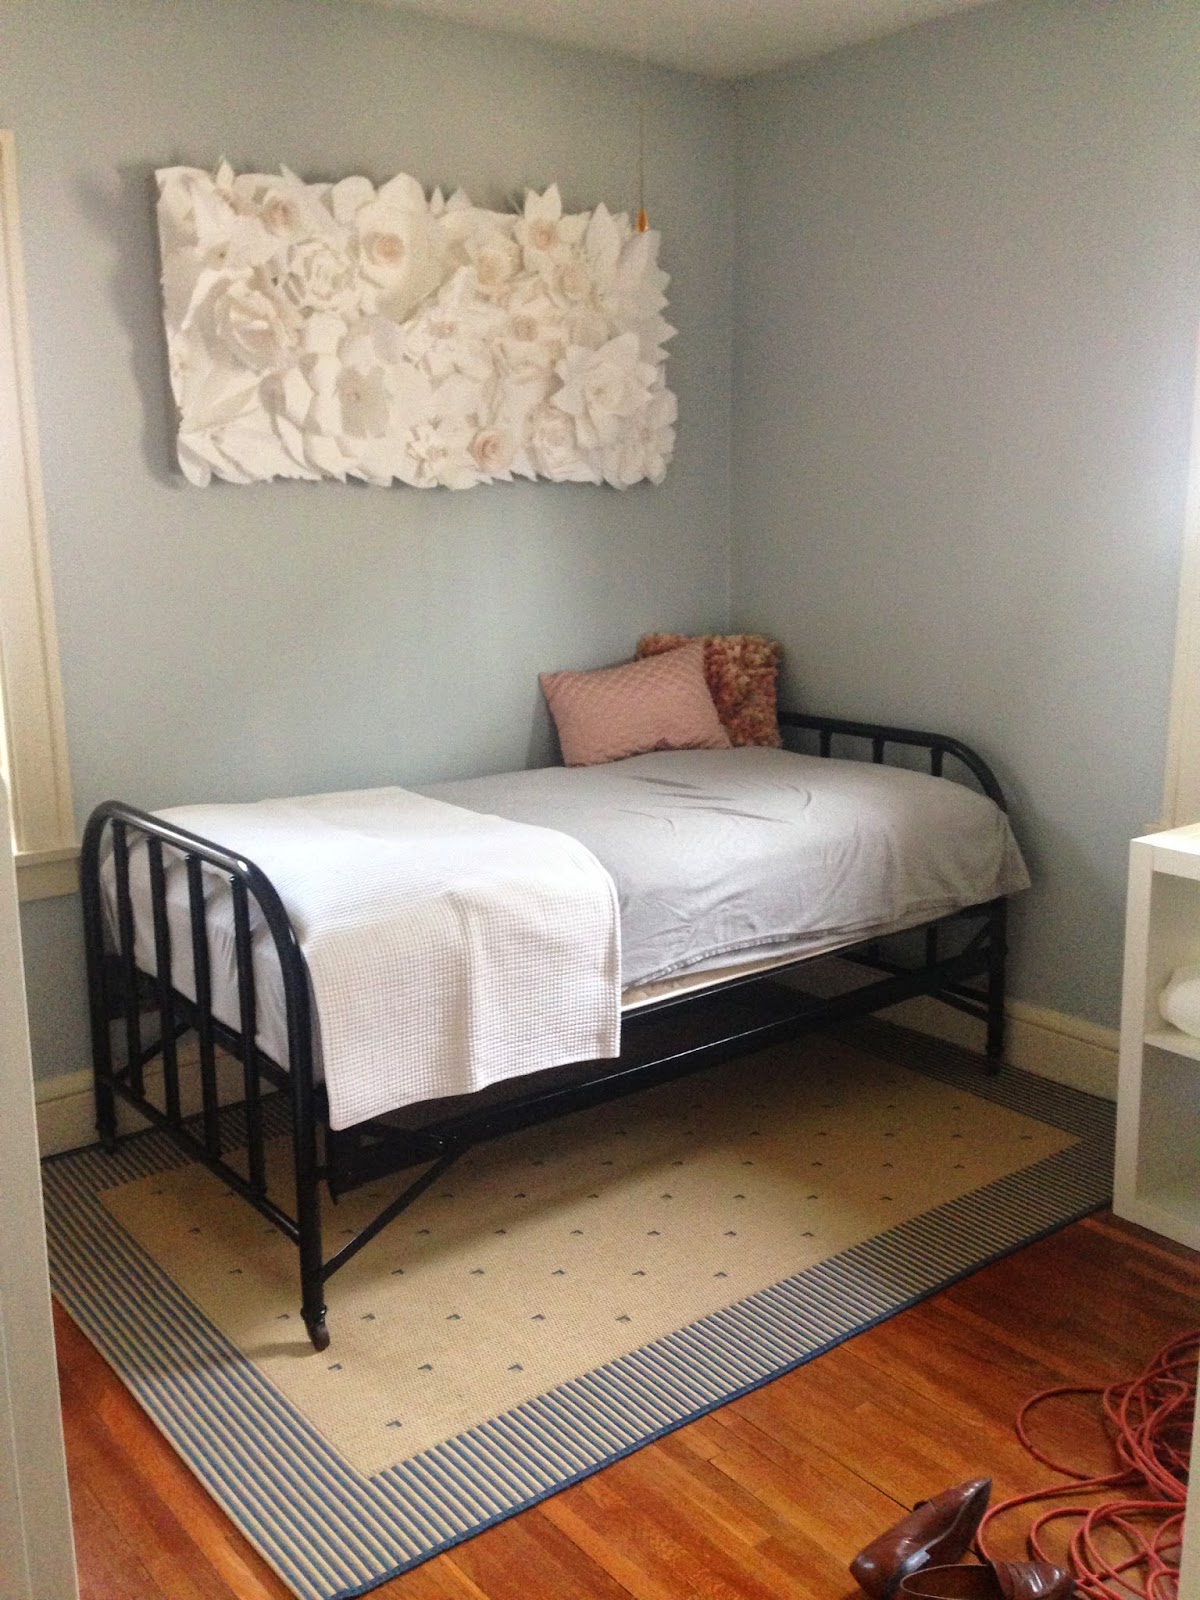
I found this little gem on Craigslist for $50. It's an old antique daybed that sits on wheels and conveniently folds up if needed. At first I thought I'd paint it white, but decided against it as much of the other furniture in the office will likely end up being white (or light).

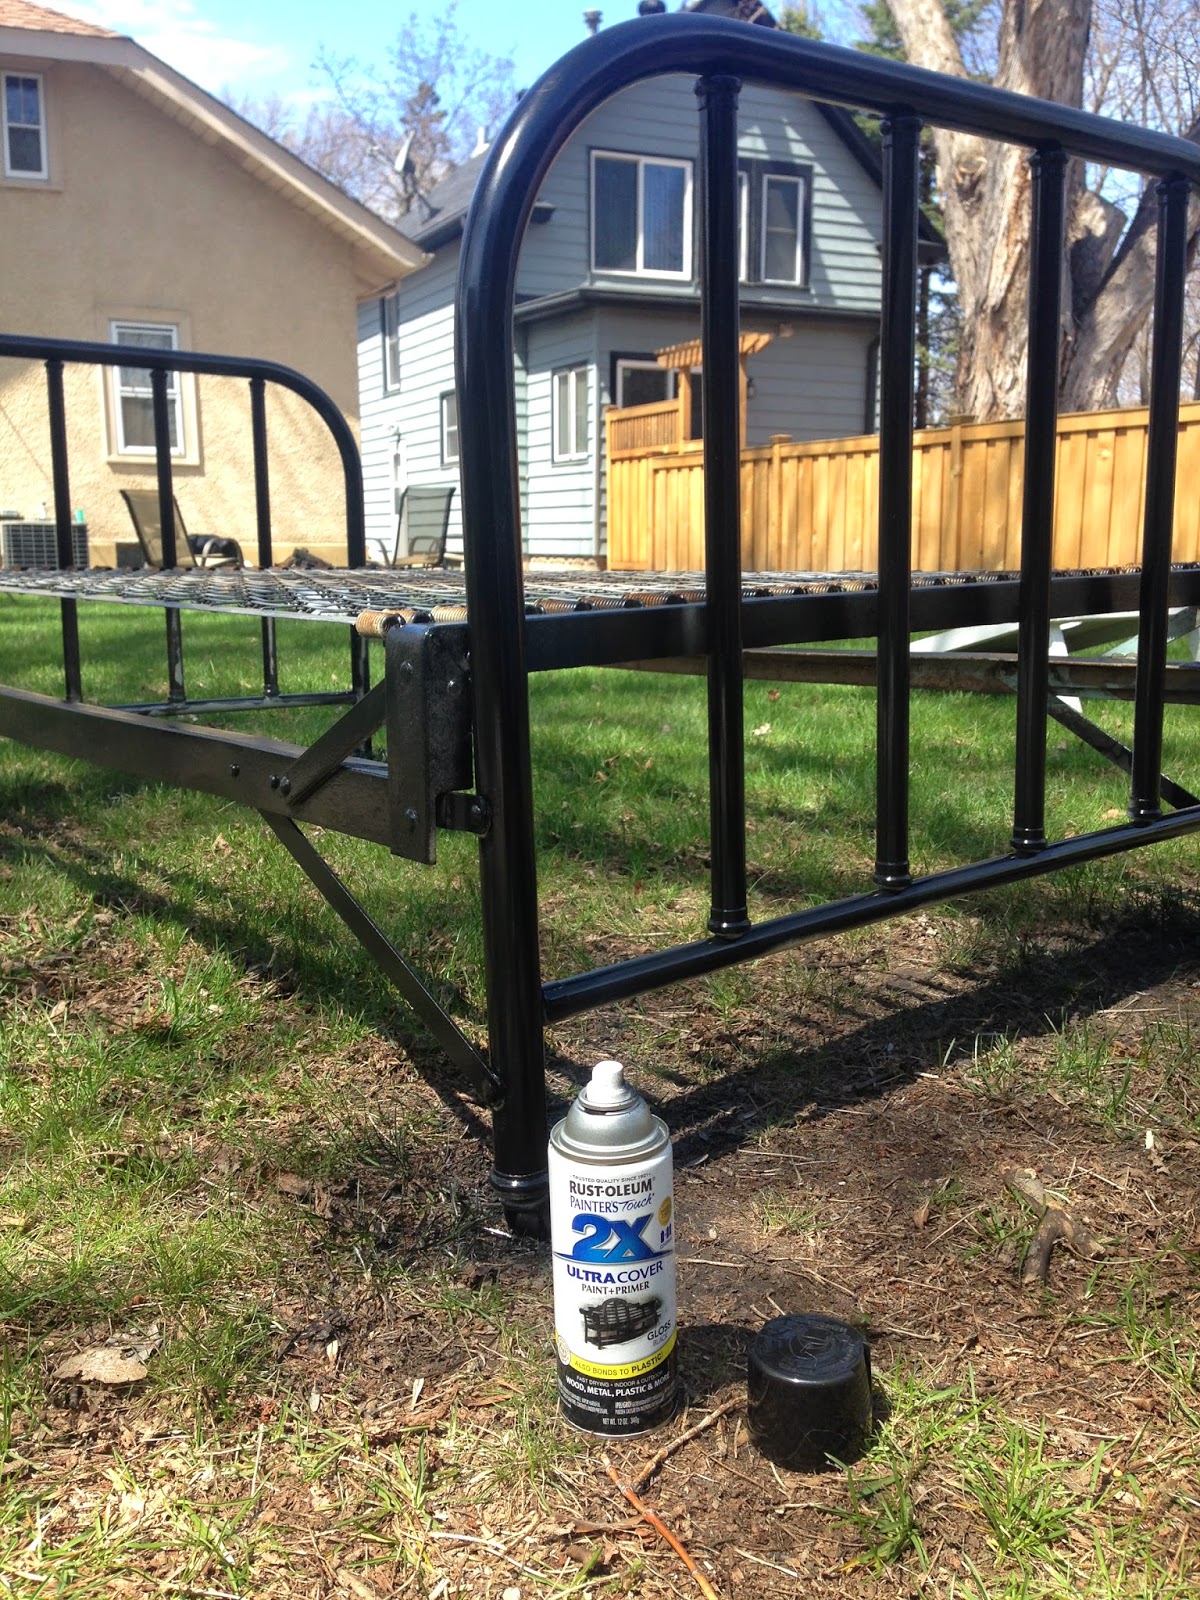
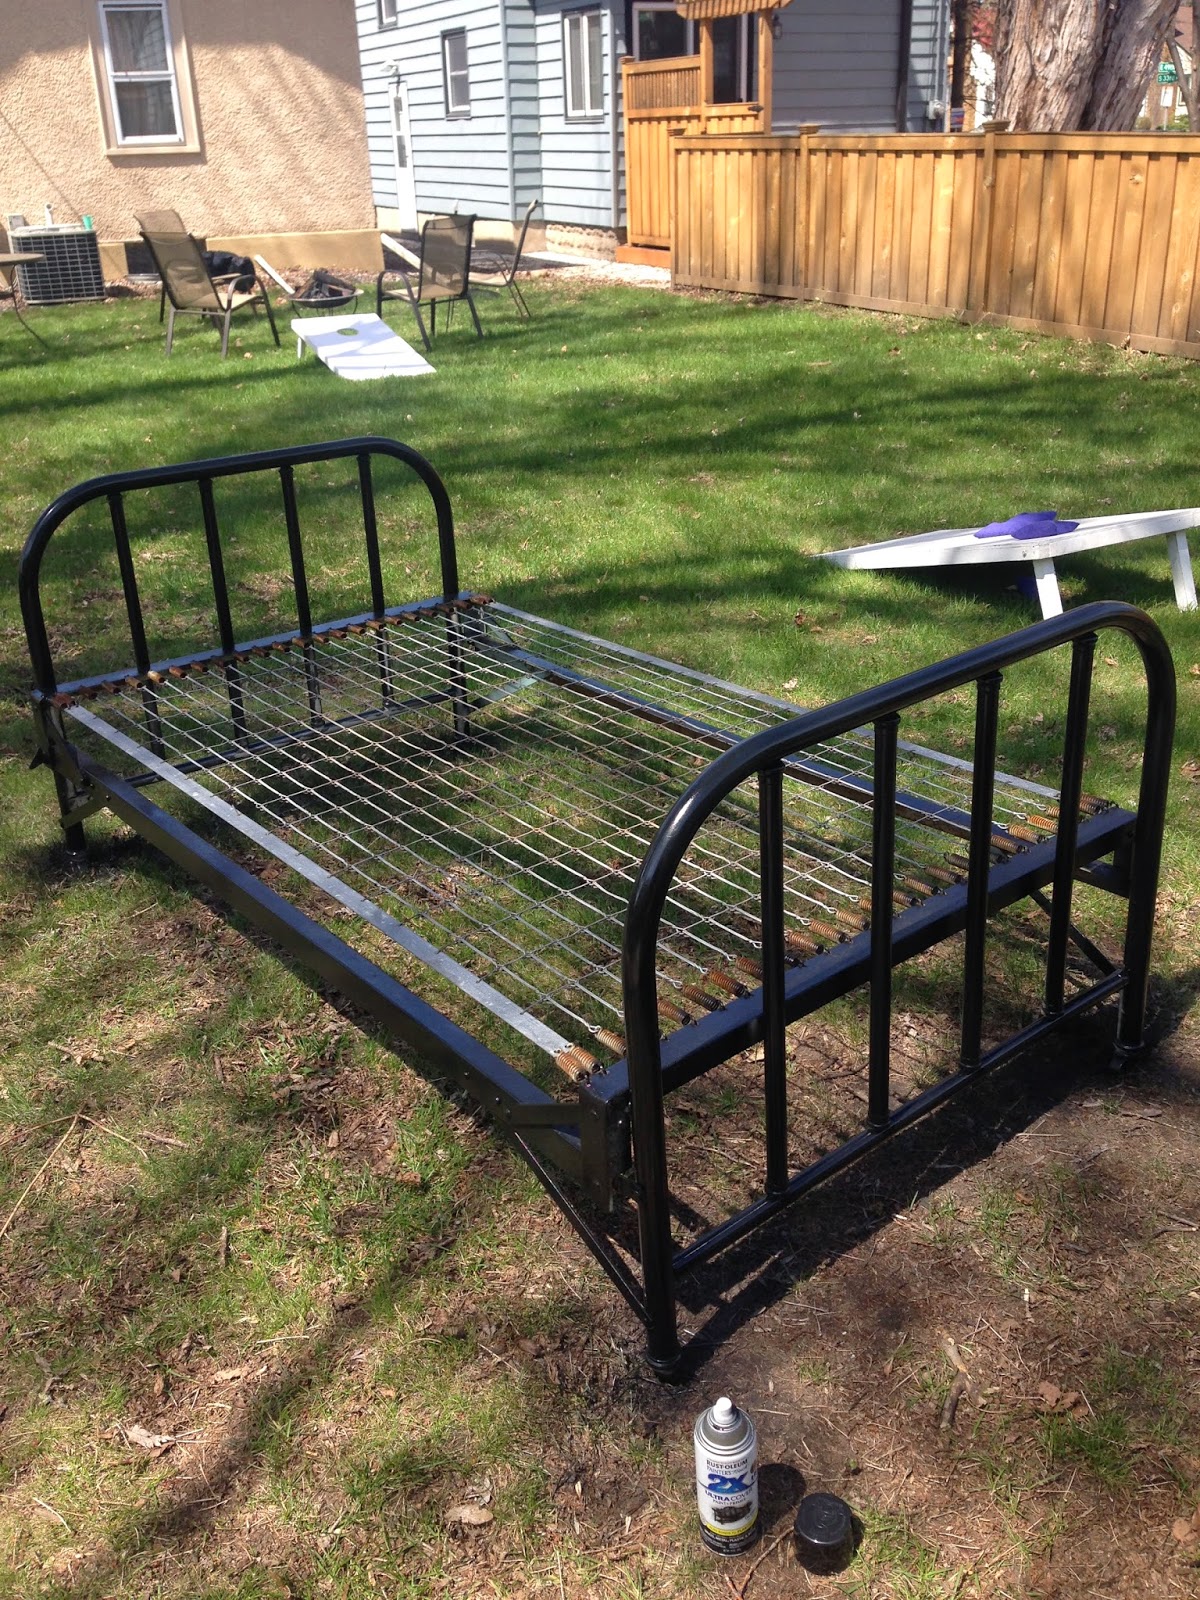
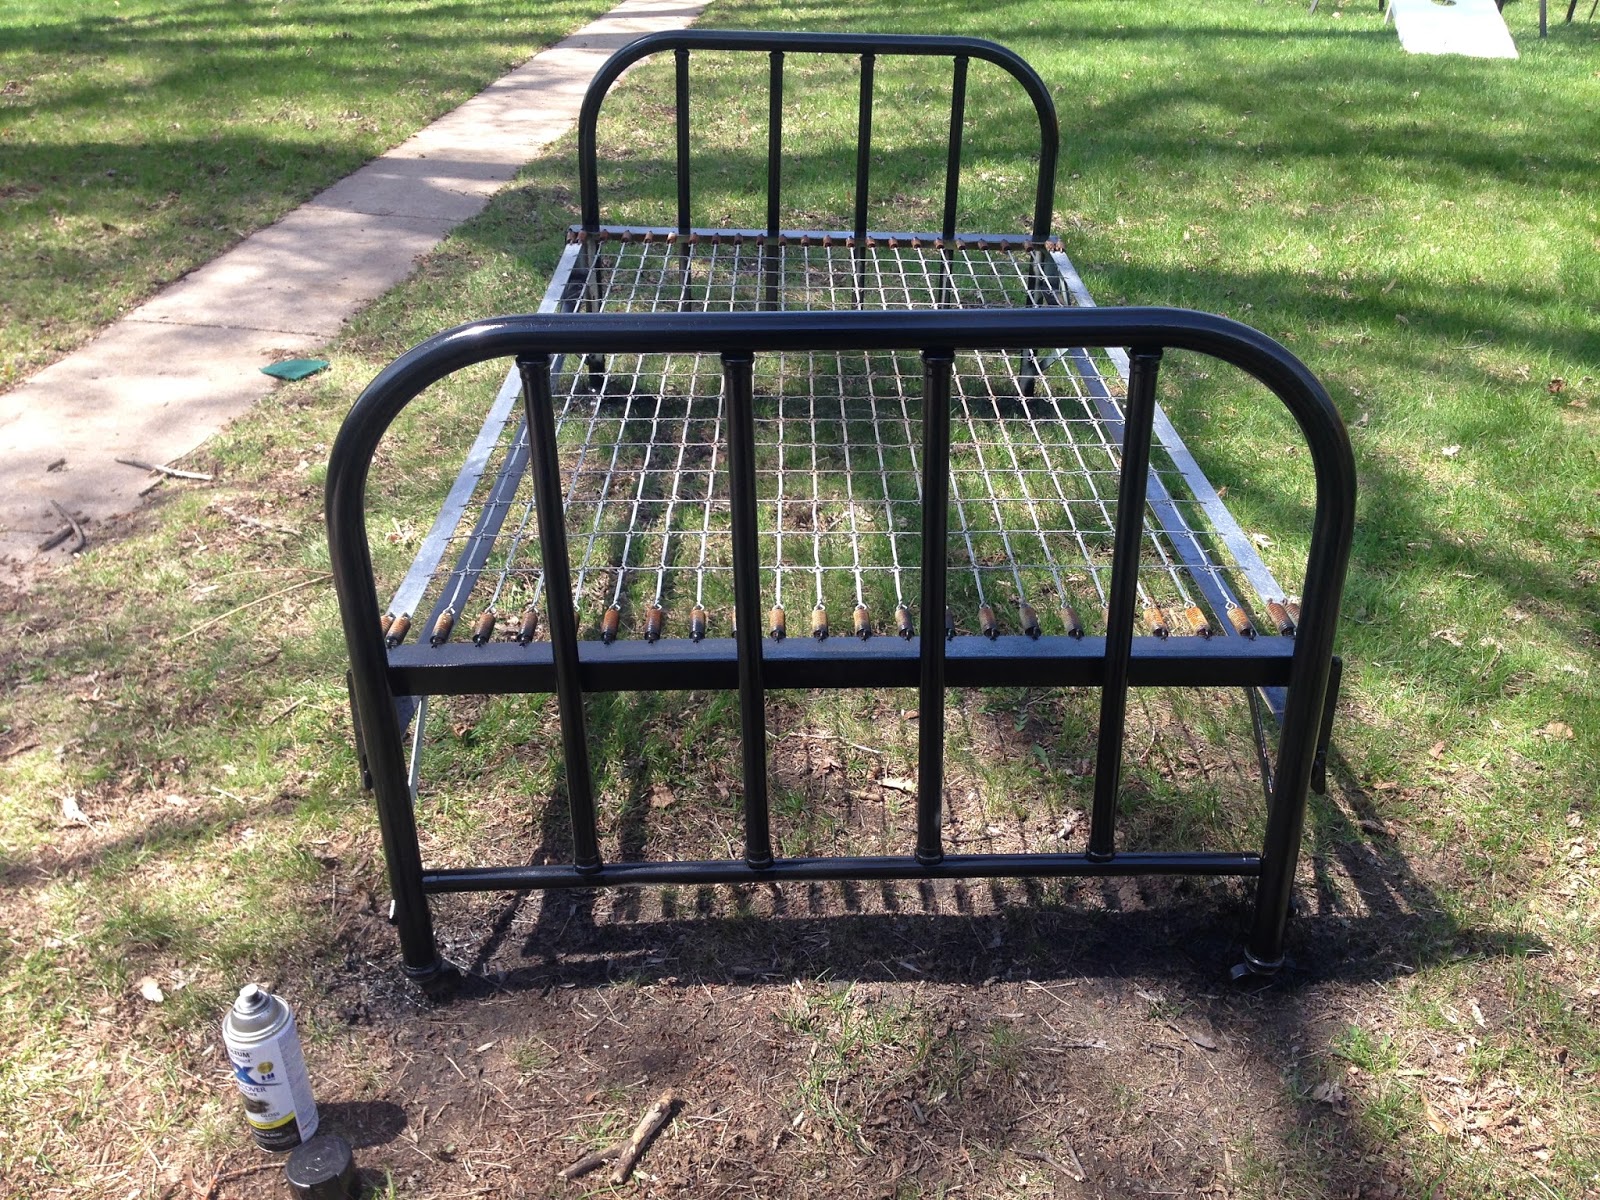
After lusting over a handful of fantastic daybeds on Pinterest (herehere and here), I decided to go dark with white bedding. Bought myself a few cans (only took 2) of spray paint and had at it.
DIY daybed painted black
DIY paint daybed in black


DIY painted daybed black

DIY painted daybed black

DIY painted daybed black

Daybed painted black

DIY daybed painted black

My office inspiration is beginning to take shape.